Backup V2 in CyberPanel
This is a basic tutorial on how you can use this backup. These are incremental backups, and on the backend, we are using Rustic and Rclone.
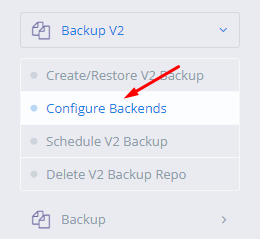
You will see the menu on your left sidebar after upgrading to CyberPanel Version v2.3.4 and the first thing you need to do is configure the backends. Right now, CyberPanel UI supports Google Drive and SFTP.
In this article, I will explain in detail that you can also use Rclone and configure any Rclone-supported backend and it will be added by CyberPanel, however, CyberPanel UI supports Google Drive and SFTP
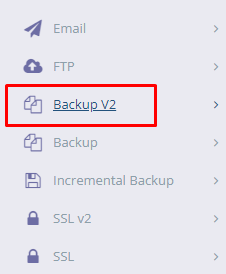
- Login to the CyberPanel dashboard scroll down, Click on the Backup V2 option
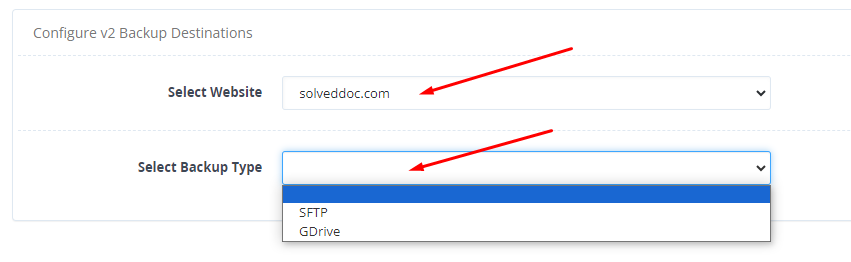
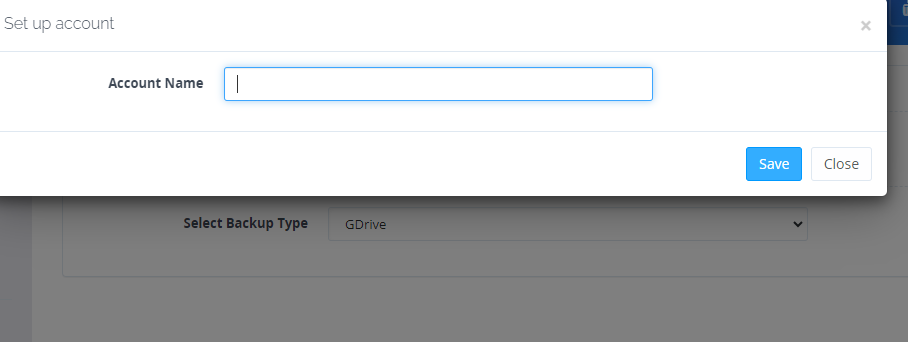
- So the first thing is to configure the backend. You have to select the website for which you want to configure this backend.
Then you have to select either you select Google Drive or SFTP
- I have selected the G drive, added the backend name here, and clicked on Save
It will take you to our platform. Where you have to just login. You don’t need to do anything on the platform, you have to authorize the app with Google Drive.
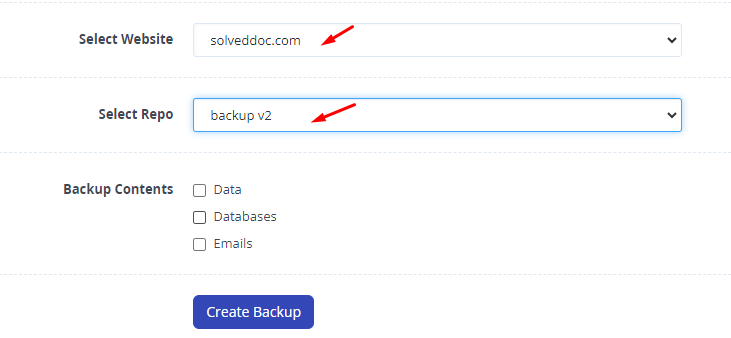
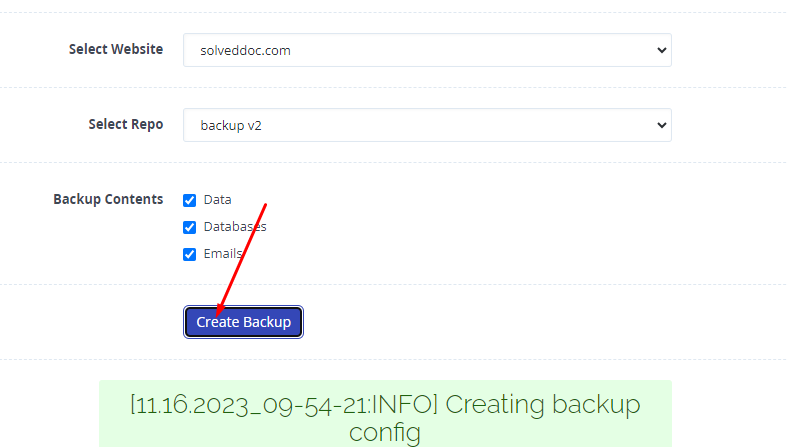
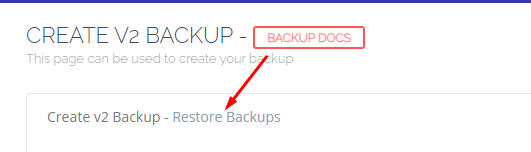
- Once the backup is configured, you can go to the Create/Restore Backup V2
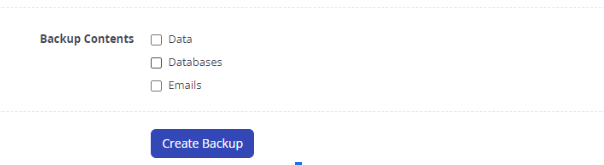
- Here, you can select the website for which you want to create the backup. The good thing with backup v2 is that you can have individual backups for website data, databases, and emails.
- If You want to select the data option for the website, it means all data will be backed up.
- If You select all of these then the data, database, and email will be back up
- Once you entered the Website and repo, Click on Create backup
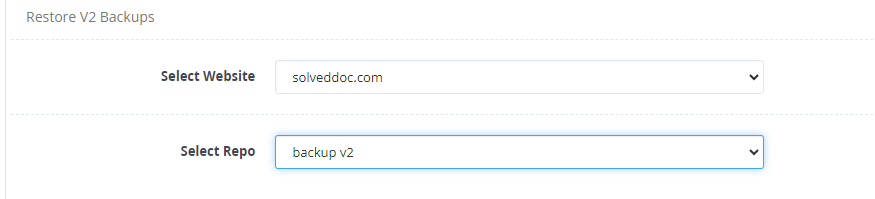
- Select the website for which you want to restore the backup Select the repo
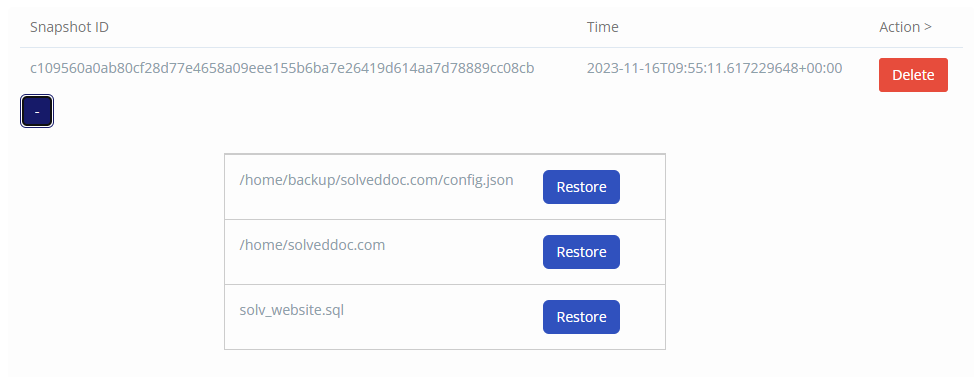
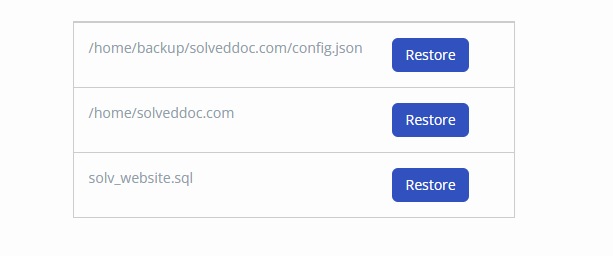
- Here you can see the list of snapshots that you can restore
- Here you can select if you want these site data backups, email or database
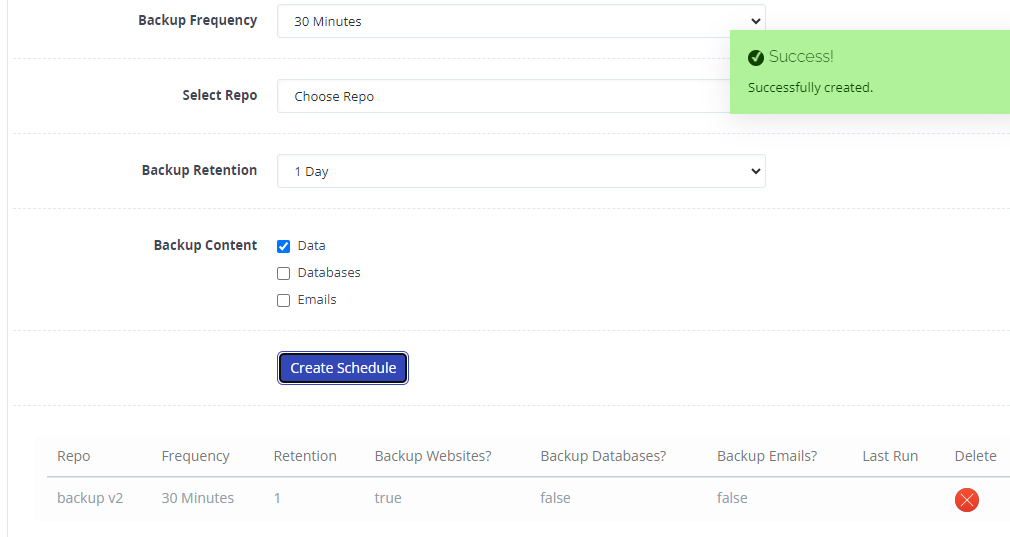
- If you want to schedule the backup, You are not going to backup manually every time. So you can come to the Scheduled Backup section
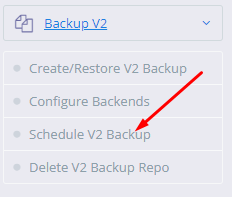
After Clicking the schedule backup, go to this page
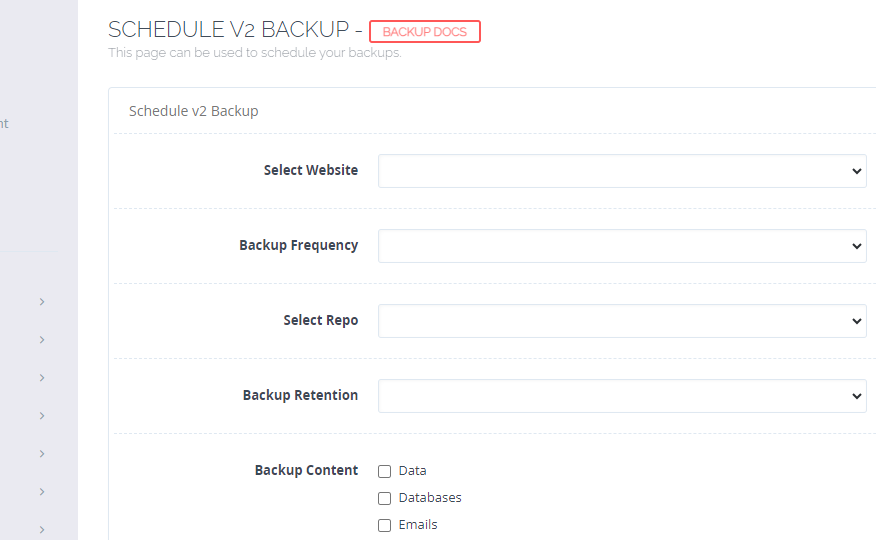
Here, you can select the site for which you want to schedule the backup, select the Backup frequency select repo, enter all the details and click on Create Schedule.
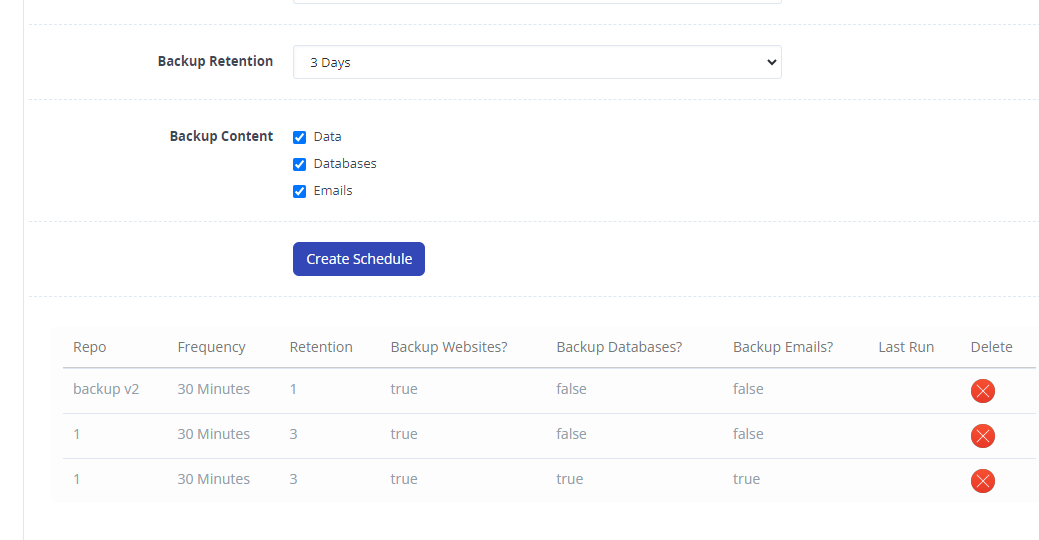
- If you select backup Retention, select for how many days you want to keep the backup. If you select 1 day, then a backup older than 1 day will be deleted.
- You can individually schedule the backup of your website. If you want only scheduled data, you can select the data and so on and so forth.

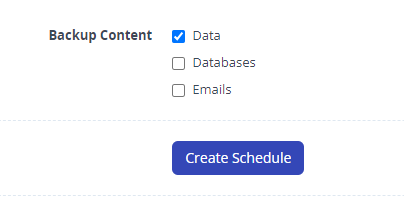
After clicking on Create Schedule, there will be a schedule listed here.
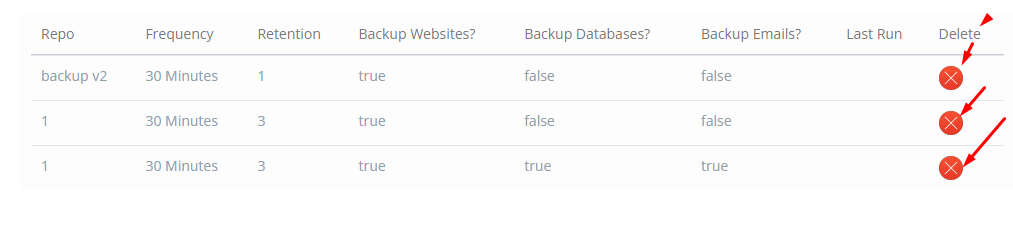
Here, you can see the backup scheduled in the list.
Here, you can delete the scheduled backup data by clicking on delete.
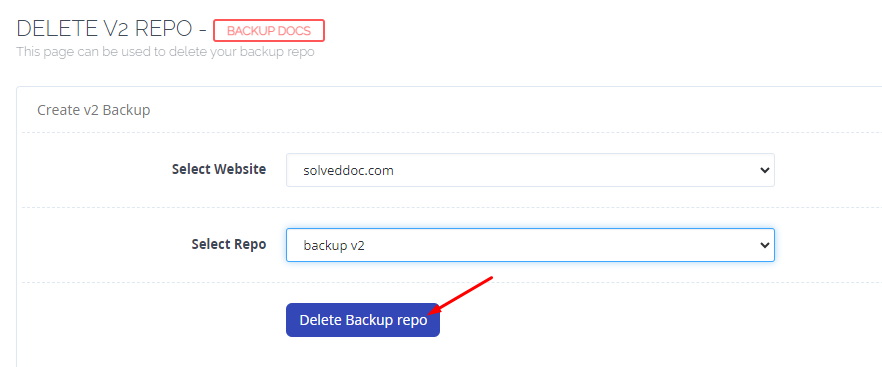
- Now the Last option is to Delete the V2 Backup Repo
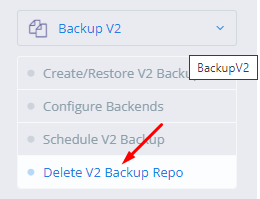
Click on the Delete V2 Backup Repo. Select the website and Repo you want to delete.
Click on Delete Backup Repo