WordPress Staging Site in CyberPanel
There are many benefits to setting up a WordPress staging site. It is possible to face a lot of hazards during the development of a website. When you make changes to a live website only to find that it has collapsed, it is never a pleasant experience.
This post will explain a staging site in detail and show you how to create one with WordPress using CyberPanel.
What is a Staging Site?
A clone of a live website is referred to as a staging site. It enables you to test any adjustments or significant new features in a safe setting before applying them. Before moving to production, developers often test updates and resolve issues on staging sites.
Your staging site uses the same plugins, settings, widgets, and other elements as your live site. The fact that a staging site is not live is the only actual distinction between it and your live website.
Alternatively, you may view how your WordPress website might respond in real-world situations in a type of sandbox environment. The staging environment is a completely separate environment from your live website.
Setup WordPress staging site using CyberPanel
How can you use a staging site?
A staging site is a flexible setting that may be utilized as needed. But why would you use a staging area? Users are given the freedom to try new things and express their creativity without risk.
Whenever you wish, you can utilize the following features:
- Alternate themes
- Removing or adding plugins
- Test important software upgrades
- Test important software upgrades
- Restructure your website
- Add new features
Who needs a Staging Site?
Everyone who manages a website ought to have a staging test site. But if we’re being realistic, everyone who manages a significant company needs to utilize staging websites at the very least.
You probably don’t need a staging site if you’re okay with the possibility that one of your modifications will break your site, change how it functions, or make it unavailable while you fix it.
However, setting up a staging website is unquestionably a wise option if your website produces revenue (directly or indirectly), offers any kind of service, or has people who depend on it. There are even many strategies that you may choose from based on your taste, which we’ll go through below.
First of all, you will need to enter the DNS record for the staging site you want to create for your WordPress site. We will be using Cloudflare for this purpose.
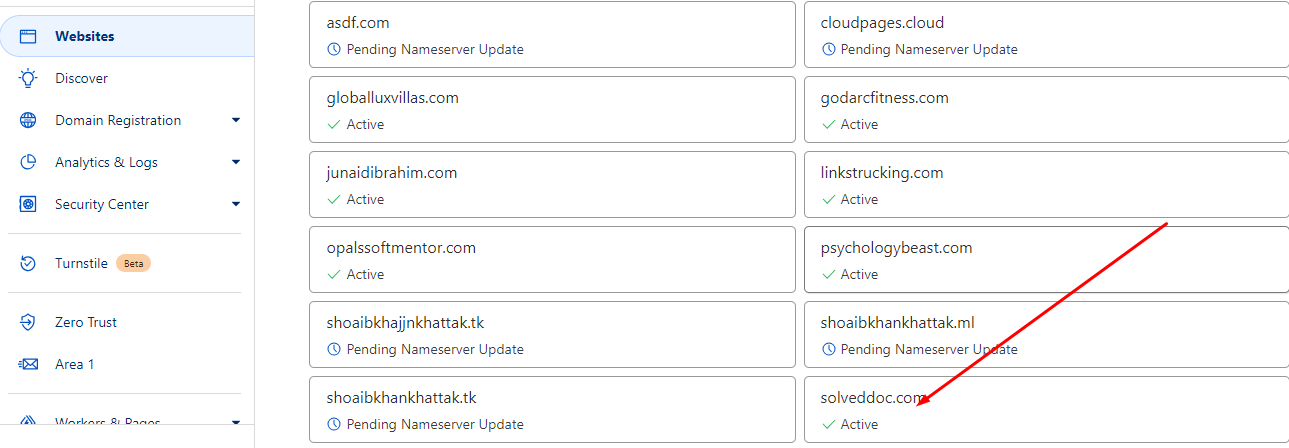
- Go to your Cloudflare account and enter your domain
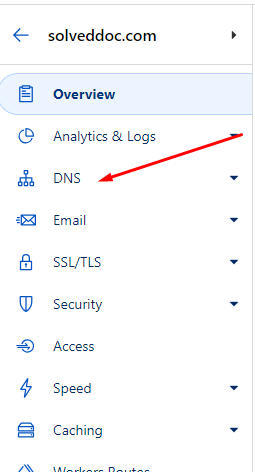
2. Click on DNS from the left-hand side menu
3. Enter the a record for your staging site by clicking Add Record. Make sure you turn off the proxy for record and click Save
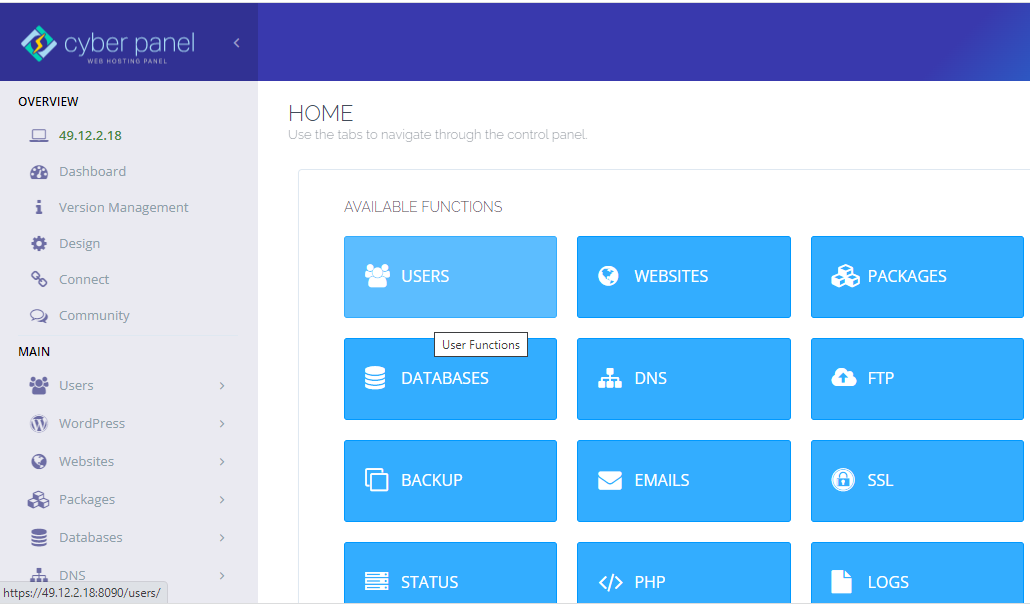
4. Login to your CyberPanel dashboard
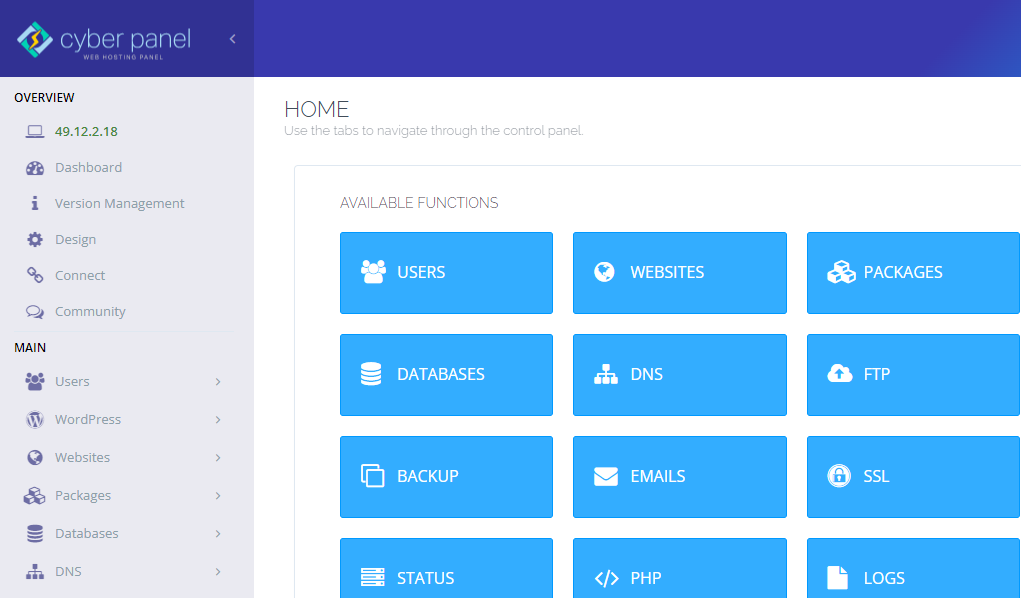
5. Click on WordPress -> List WordPress from the left-hand side menu

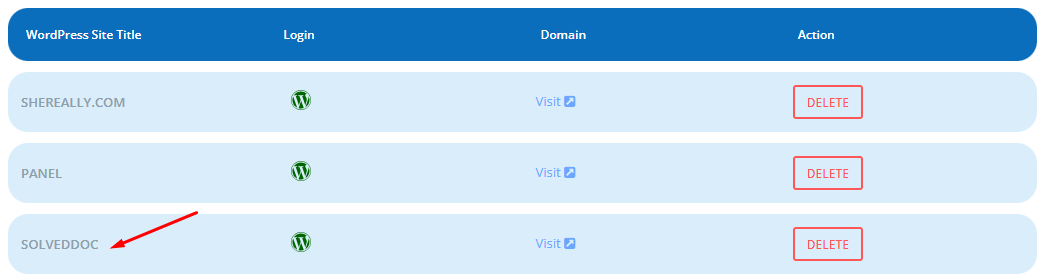
6. You will enter the List WordPress Website from here, and click on your WordPress Site Title.
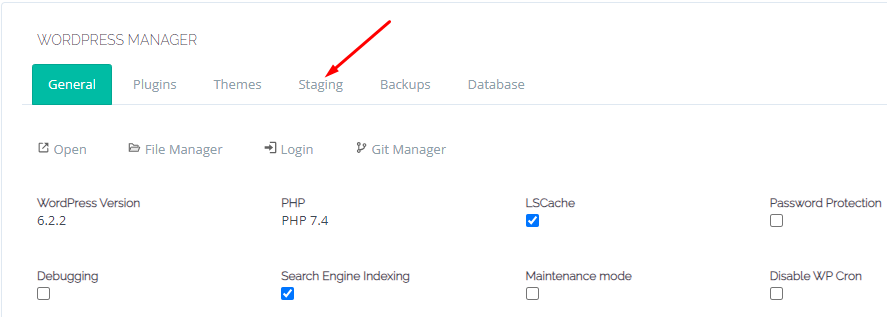
This is your CyberPanel WordPress Manager. Click on Staging from the top bar
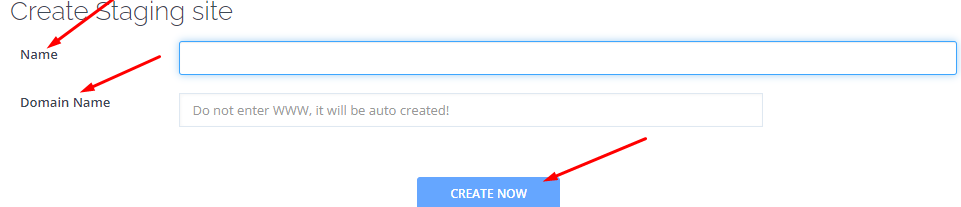
7. Enter your staging site’s name and domain, and click Create Now to deploy the Staging site for your WordPress site.
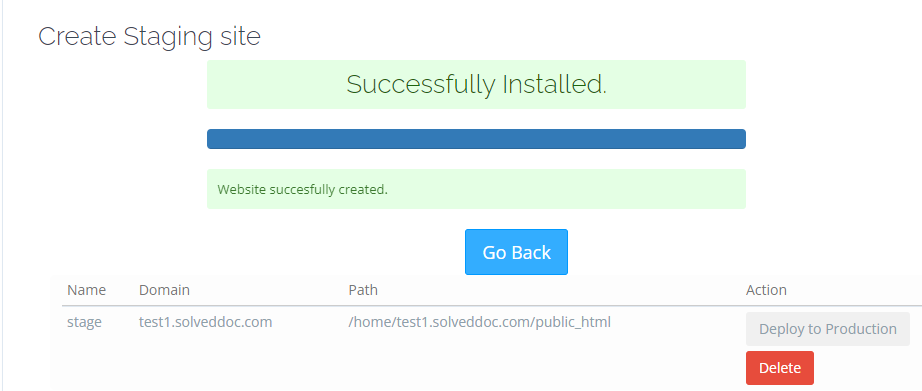
8. This is your Staging site. It is an independent WordPress site which is a replica of your actual WordPress site.
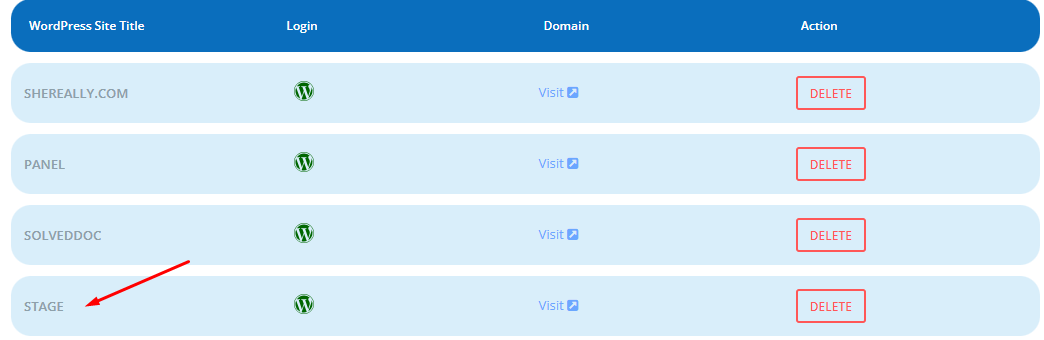
You can also see your site on the List WordPress page.
You can now change and test anything in this staging site. Once that is complete, you will need to deploy this staging site to Production, so that the changes will be live for your viewers when this staging site merges with the actual WordPress site.
For that, you need to enter your WordPress site’s Manager again.
Enter your CyberPanel dashboard
Click on WordPress -> List WordPress from the left-hand side menu
You will enter the List WordPress Website from here, and click on your WordPress Site Title.
This is your CyberPanel WordPress Manager. Click on Staging from the top bar
Scroll down to your staging site and click on Deploy to Production. Your changes will be live on your WordPress site you can check them out now from the WordPress Manager -> Open.